
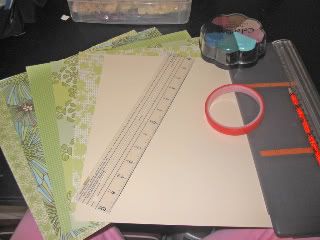
For this months technique tutorial over at Scrapbooking and Card Making, I thought that I would share one that I got from DIY about a year ago. It has you pleating paper on your page and using it as a visual interest on your scrapbook page. First you will need to collect your supplies. For this technique you will need your background paper, assorted patterned paper (for this I used 5 in shades of green), a 12inch ruler, pencil, paper cutter, strong tape, and some chalk for edging.
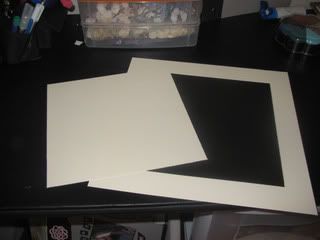
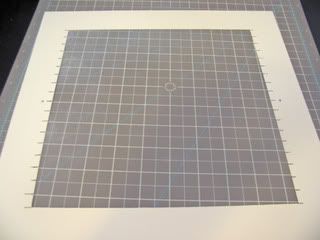
Step 1 - Take your main background and cut out a 1 1/2 inch border all the way around.
You will end up with a square you can use later for matting pictures or put in your scraps pile.
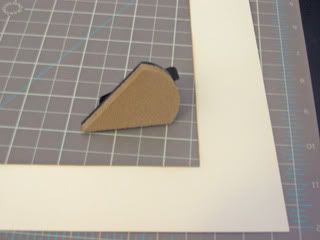
Step 2 - Use your choice of chalk or distressing ink to ink the inside portion of the square. In my picture I chose to use a light brown and it does not show up much here but it does make a difference in the end result.
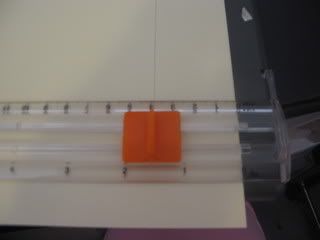
Step 3 - Take your 12inch ruler and mark the middle point on your background as shown.
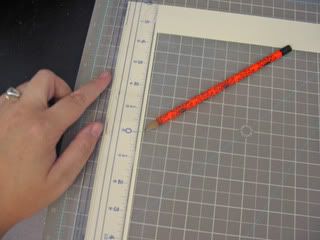
Step 4 - Make tick marks on your page going in both directions every 1/2 inch. This is the side of the paper that will not be shown, so you can use a pencil or a marker.
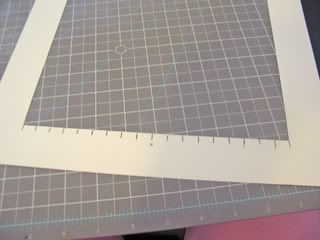
Step 5 - Do the same tick marks on the other side of the paper. And set aside.
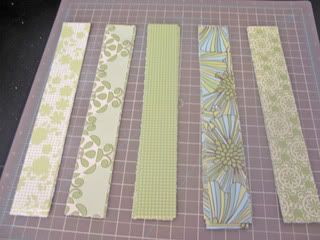
Step 6 - Take your patterned paper and cut to 10" x 1 1/2" strips. You can use up to as many patterns as you like although the rule of less is more definitely applies. I would suggest though using odd numbers of patterned paper. It will give the appearance of randomness, and not a pattern.
Step 7 - Bring back your outer square and apply a strong tape to the sides we marked earlier.
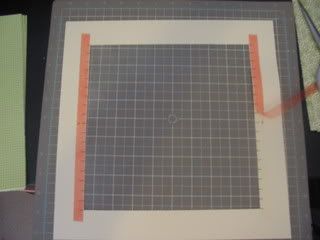
Step 8 - Take your first strip of patterned paper and fold in half.
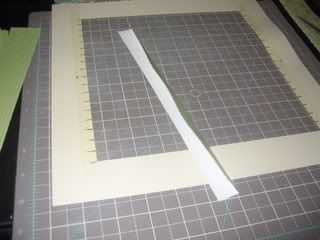
Working from the top and bottom going toward the middle, place your strips with the folded side toward the middle of the paper, lining them together on the tick marks at both sides.
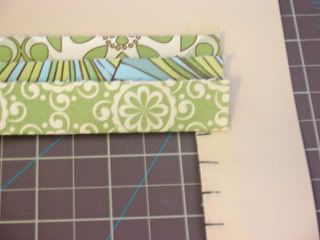
Work your way from the top and bottom to the middle so that you can see and plan your design. Be careful not to place your papers in order, this will only create a pattern and we are looking to make it very random.

Continue until all of your papers have been placed down.
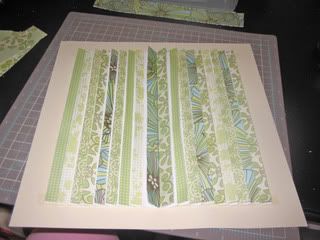
Turn your paper over to see your finished result!

Step 9 - Embellish and have fun!!
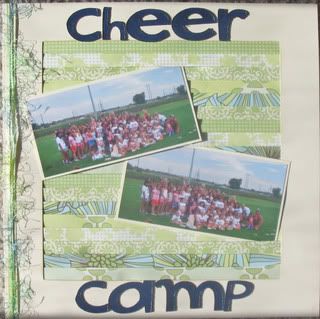
Here is a page that I did about a year ago using the same technique: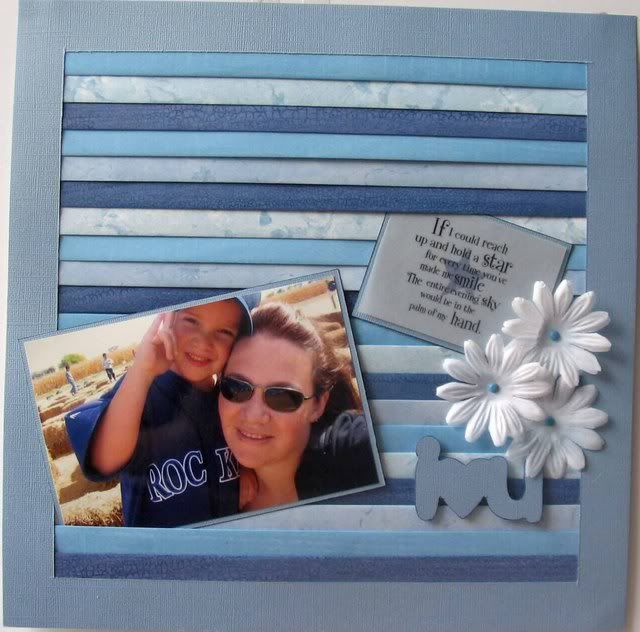
And another that I did this weekend, using the technique but on a much smaller scale. I also twisted the direction of the paper.
I hope that this was able to teach and inspire you to try something new. And I would love to see what you come up with!!!

Step 1 - Take your main background and cut out a 1 1/2 inch border all the way around.
You will end up with a square you can use later for matting pictures or put in your scraps pile.
Step 2 - Use your choice of chalk or distressing ink to ink the inside portion of the square. In my picture I chose to use a light brown and it does not show up much here but it does make a difference in the end result.
Step 3 - Take your 12inch ruler and mark the middle point on your background as shown.
Step 4 - Make tick marks on your page going in both directions every 1/2 inch. This is the side of the paper that will not be shown, so you can use a pencil or a marker.
Step 5 - Do the same tick marks on the other side of the paper. And set aside.
Step 6 - Take your patterned paper and cut to 10" x 1 1/2" strips. You can use up to as many patterns as you like although the rule of less is more definitely applies. I would suggest though using odd numbers of patterned paper. It will give the appearance of randomness, and not a pattern.
Step 7 - Bring back your outer square and apply a strong tape to the sides we marked earlier.
Step 8 - Take your first strip of patterned paper and fold in half.
Working from the top and bottom going toward the middle, place your strips with the folded side toward the middle of the paper, lining them together on the tick marks at both sides.
Work your way from the top and bottom to the middle so that you can see and plan your design. Be careful not to place your papers in order, this will only create a pattern and we are looking to make it very random.
Continue until all of your papers have been placed down.
Turn your paper over to see your finished result!
Step 9 - Embellish and have fun!!
Here is a page that I did about a year ago using the same technique:
And another that I did this weekend, using the technique but on a much smaller scale. I also twisted the direction of the paper.
I hope that this was able to teach and inspire you to try something new. And I would love to see what you come up with!!!


3 comments:
Wow I really like how they turned out, especially the one with blue paper! Thanks for the tutorial!
thanks for sharing though it is hard to see with that overlay on top of everything.
Love this Tecture Technique...it turned out great, thanks for the tutorial!
Post a Comment